Walser Pistenraupen Modellbau
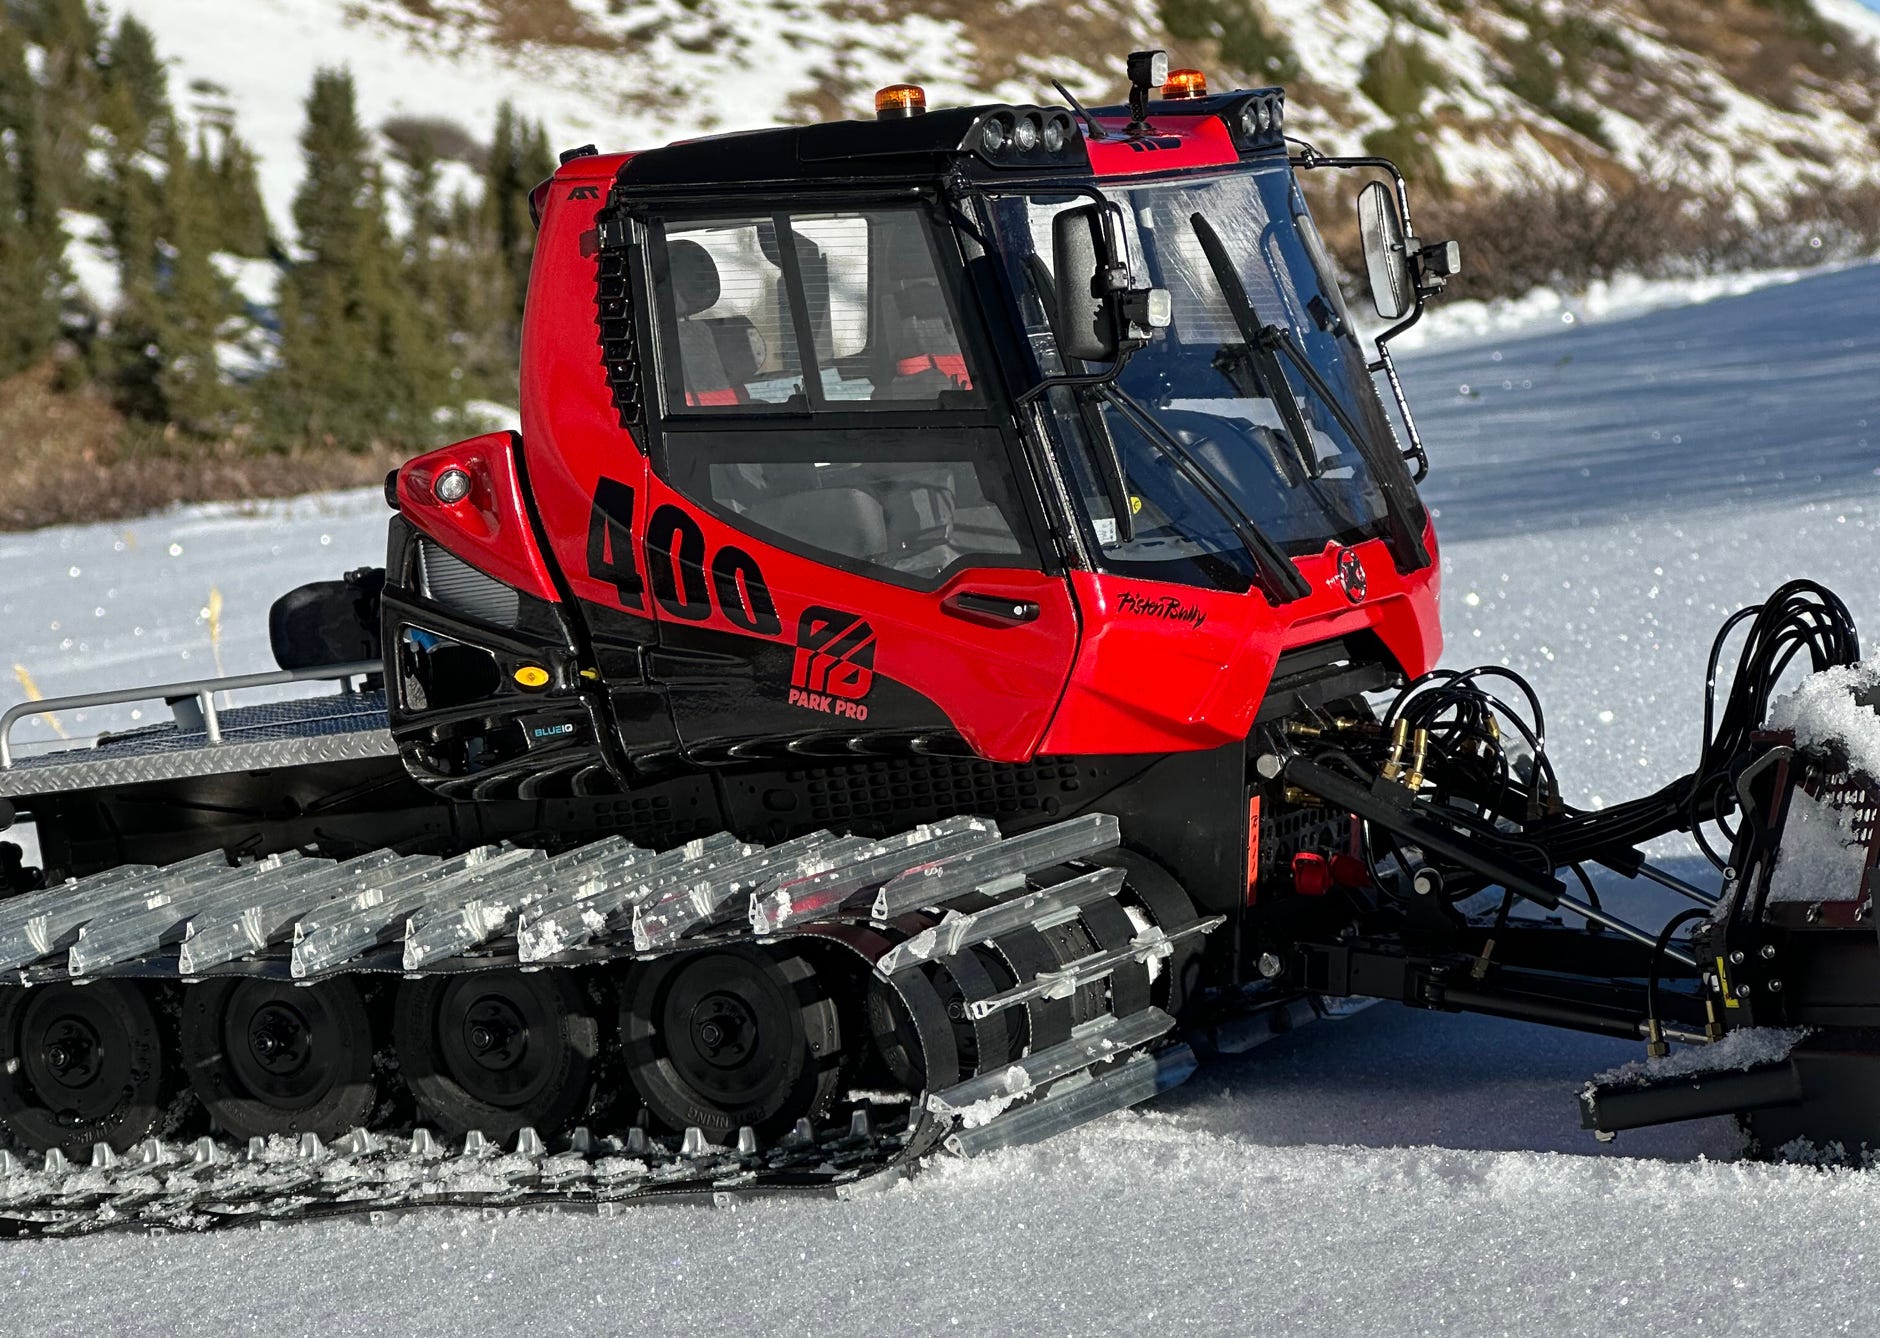
Word got around that Kässbohrer was developing a new PistenBully 400 as early as summer 2020, when the first images of a camouflaged prototype appeared. In March 2021 first photos in the red and black design showed up, but still without inscriptions. In mid-January 2022, Kaessbohrer let the cat out of the bag and officially presented the new PB400 RUN RED in a live stream event. And wow, it looks really cool!
Just one month later, Pistenking received the original data, and I took over the CAD work for an intended kit. The main work is to thicken the parts to a model-specific wall thickness. If you scale down the original parts to a scale of 1:12, the wall thicknesses are too thin for any manufacturing process, be it 3D printing or injection molding. Unfortunately, it does not work in any CAD system to simply thicken them in one step with a mouse click, because this would inevitably lead to self-overlaps in many places. So I had to thicken the parts step by step and also fill in the gaps that were created with this process. I worked in such a way that the original outer surface was retained, i.e. the model is identical to the original down to a thousandth of a millimeter. Most of the parts also had to be adapted to the model, for example, the body parts at Kaessbohrer are mounted on the roll over cage, which we don't need in the model, so the parts are glued directly to each other.
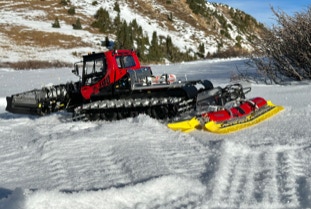
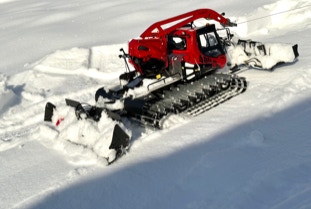
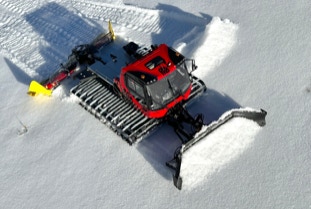
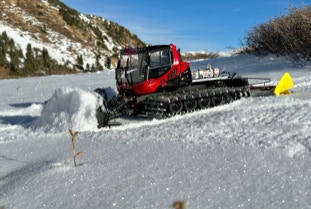
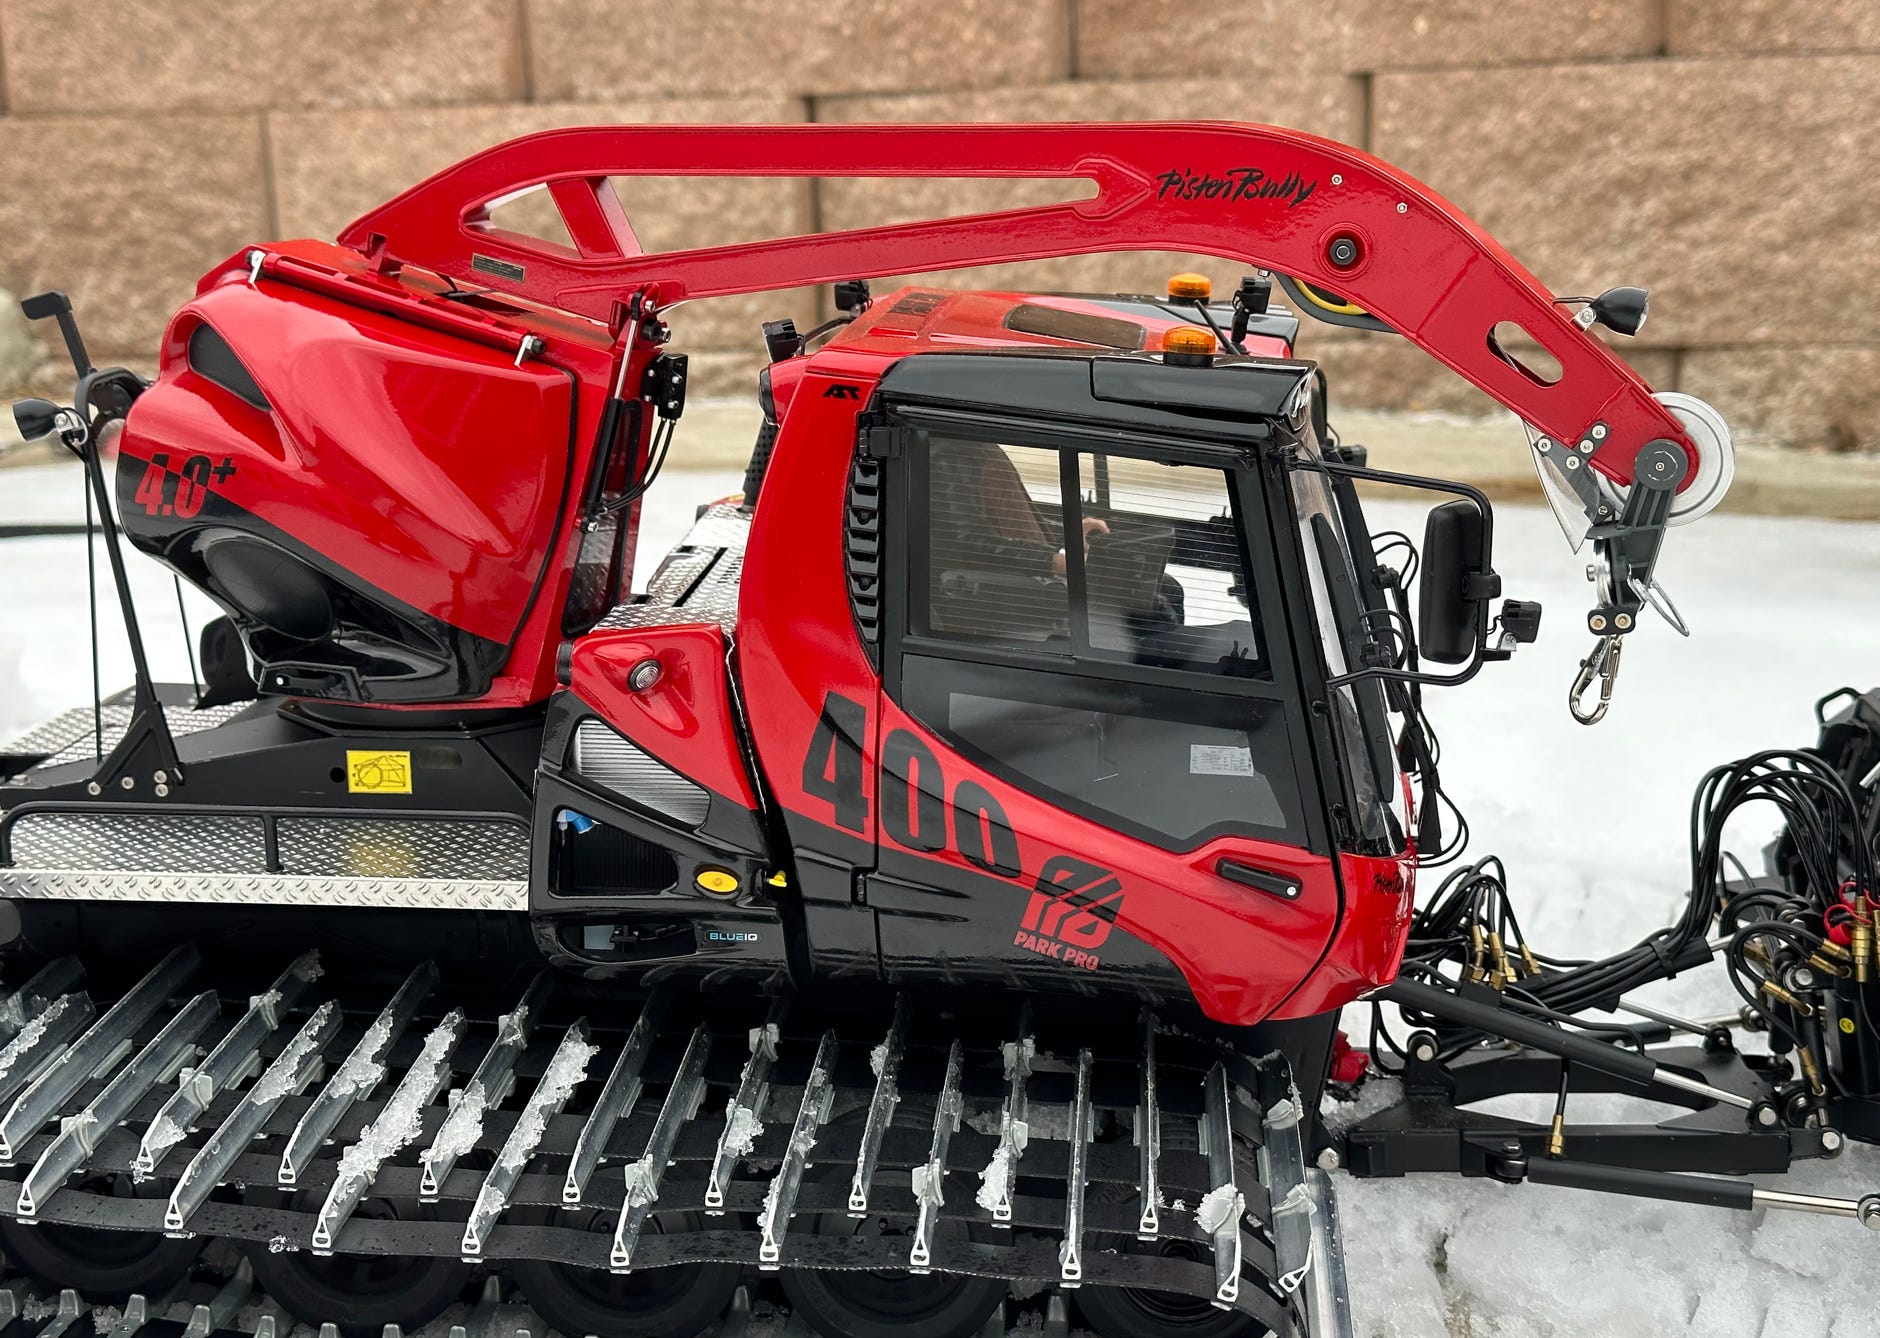
On March 1, 2022, Andi Rieger had the opportunity to photograph a PB 400 ParkPro, which was there for a week for testing, very close to my home in Kleinwalsertal, namely on the Nebelhorn in Oberstdorf. This gave us enough photos of the original. For me it was clear that I would implement it in the ParkPro variant, because it should replace the driver's cab of my existing "old" PB400 ParkPro.
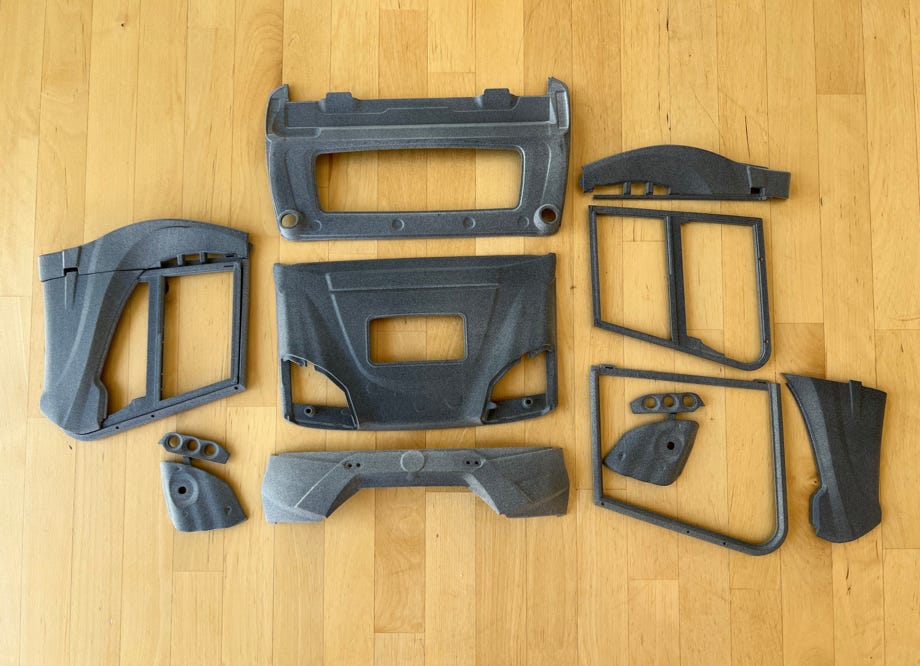
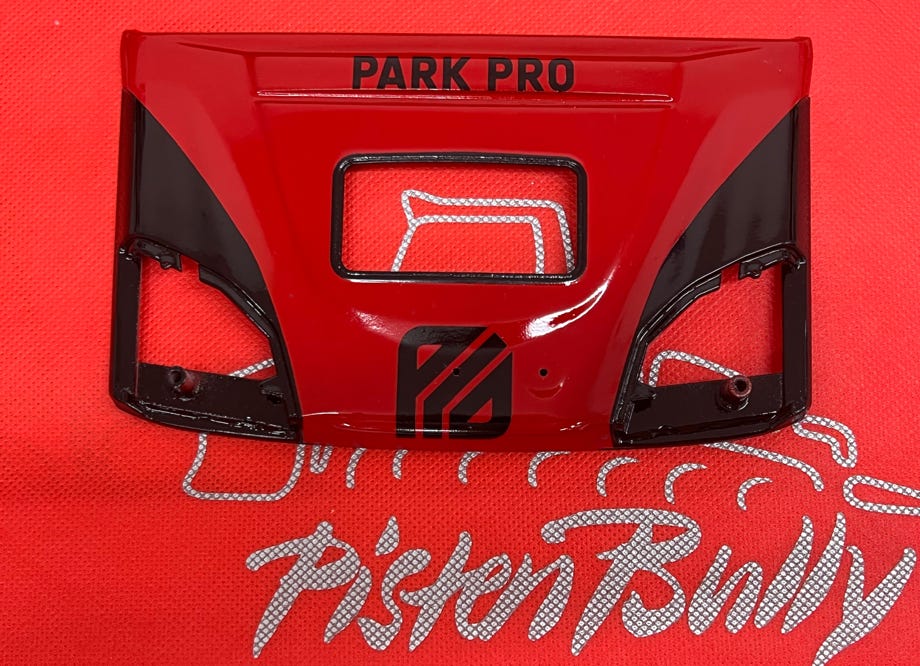
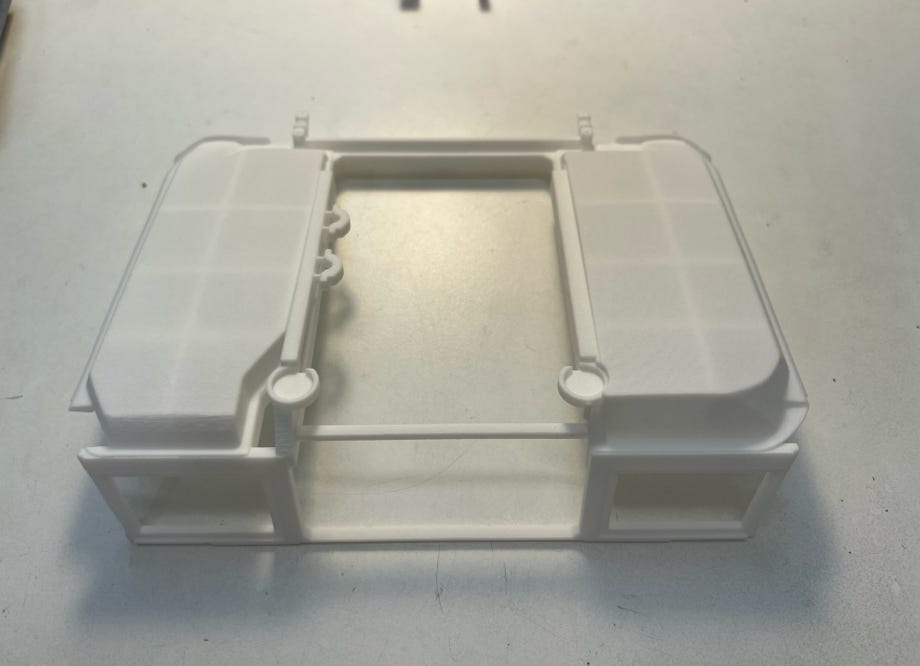
On May 10, 2022, the first printed parts from Shapeways arrived, which of course were provisionally assembled right away:
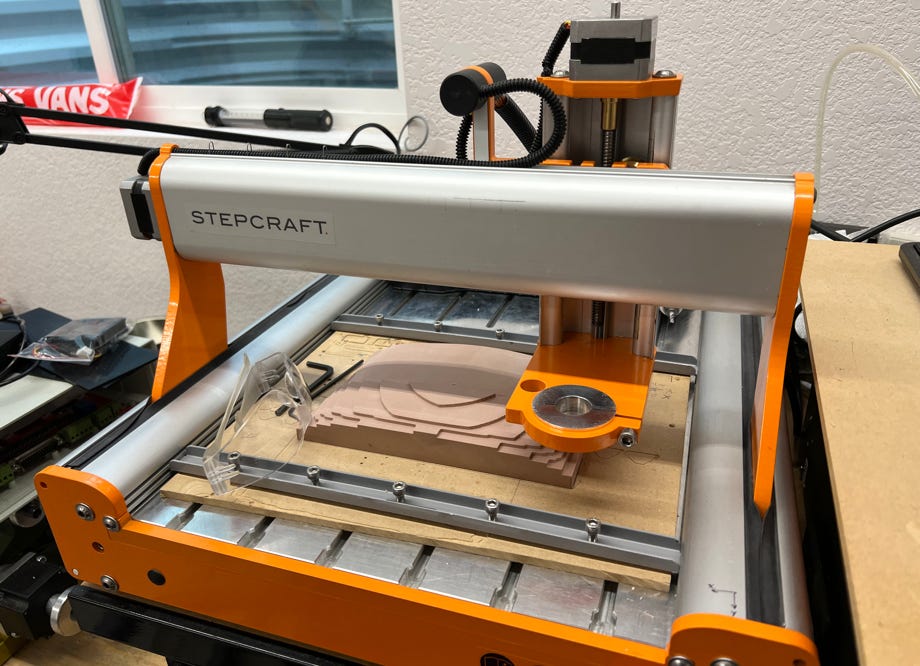
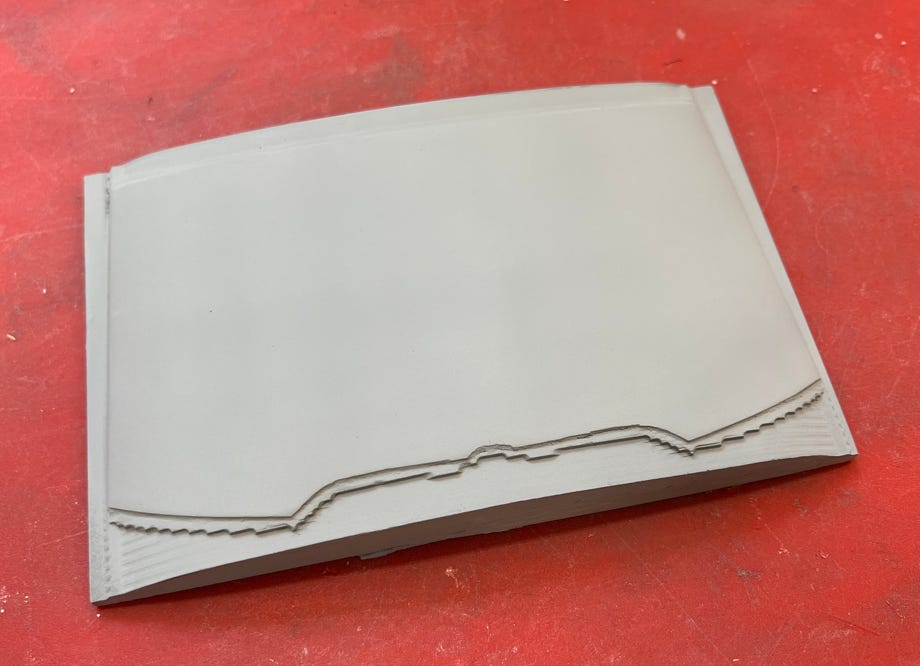
First the surfaces had to be smoothed. This only required 3 passes with a filling spray primer and 320 sandpaper, followed by a fine primer and sanding with 400 and 600 grit. At the same time, I milled the vacuum forming mold for the windshield on my Stepcraft 420. The mold was of course also primed and finely sanded.
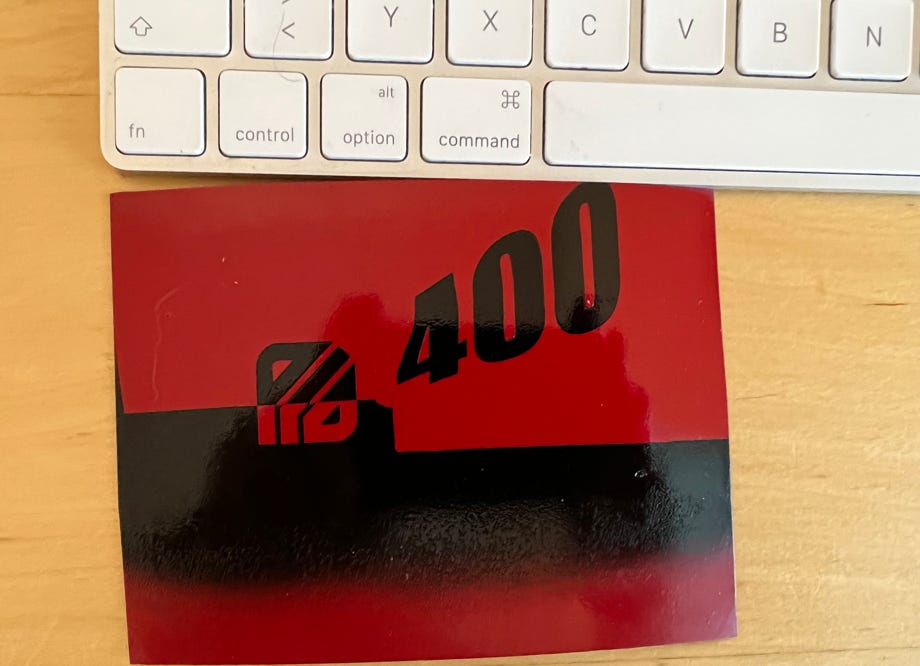
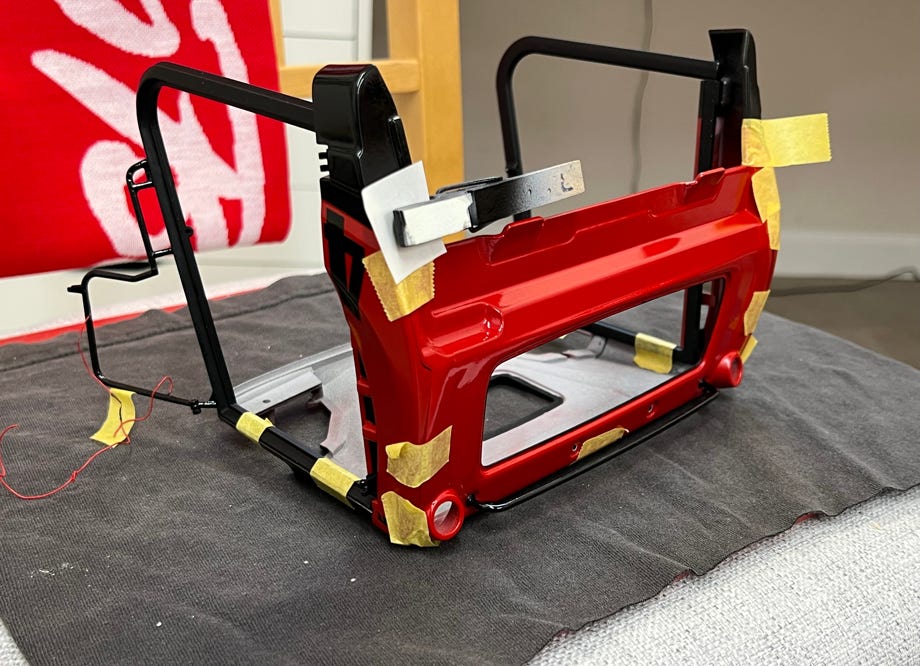
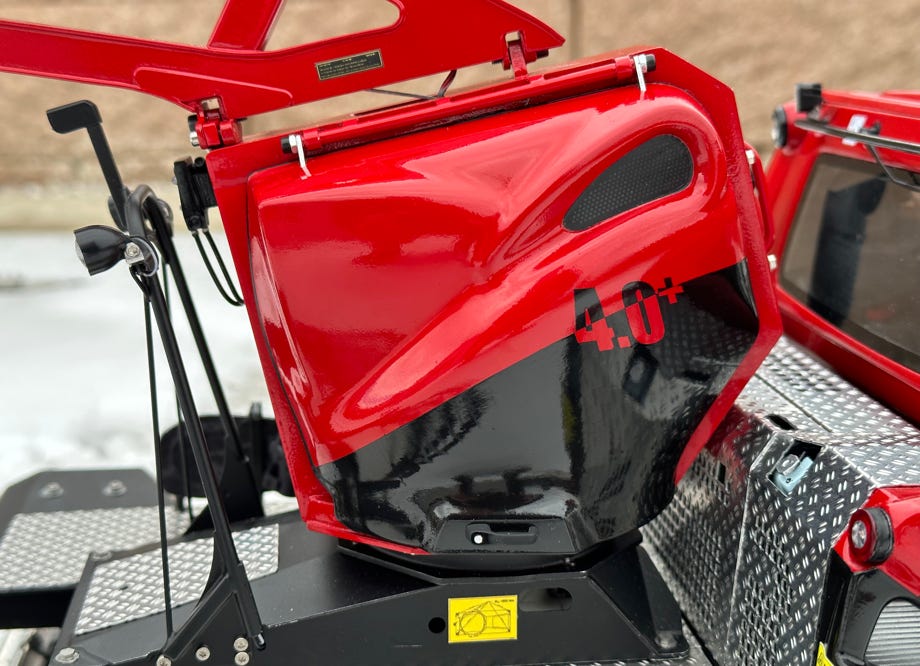
The new design with the divided ParkPro logo looks great, but it's not exactly easy for us model builders to implement. So I bought a cutting plotter to be able to cut out paint masks. The first test painting was successful and I was able to start masking and painting the cab parts. It is really practical to have all the required masks cut out with absolute precision on the plotter. I use Tamiya yellow masking film.
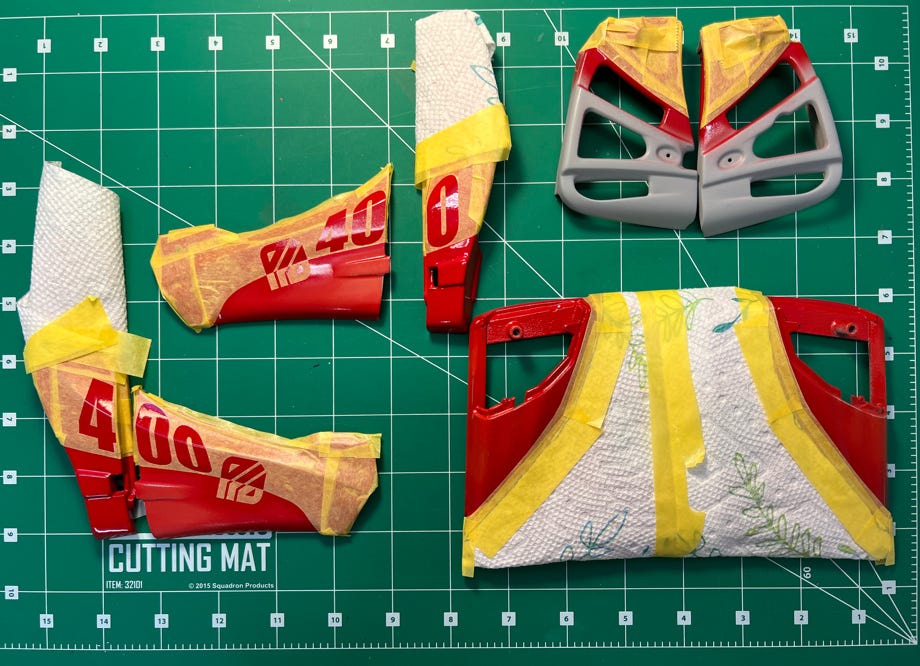
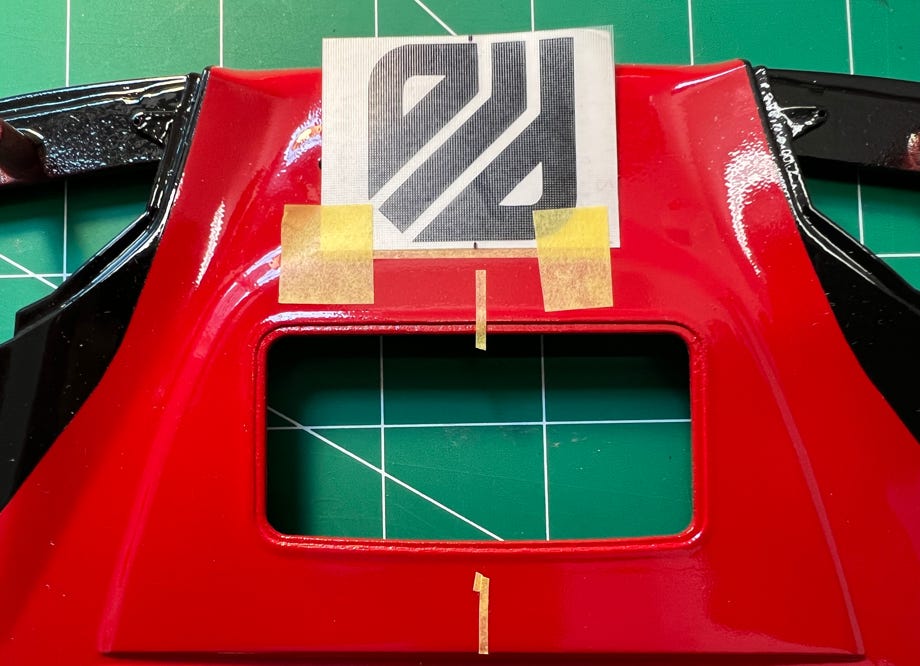
The logo and lettering on the roof were cut out of vinyl and applied. In order to apply them centered and correctly aligned, I made markings with narrow masking strips.
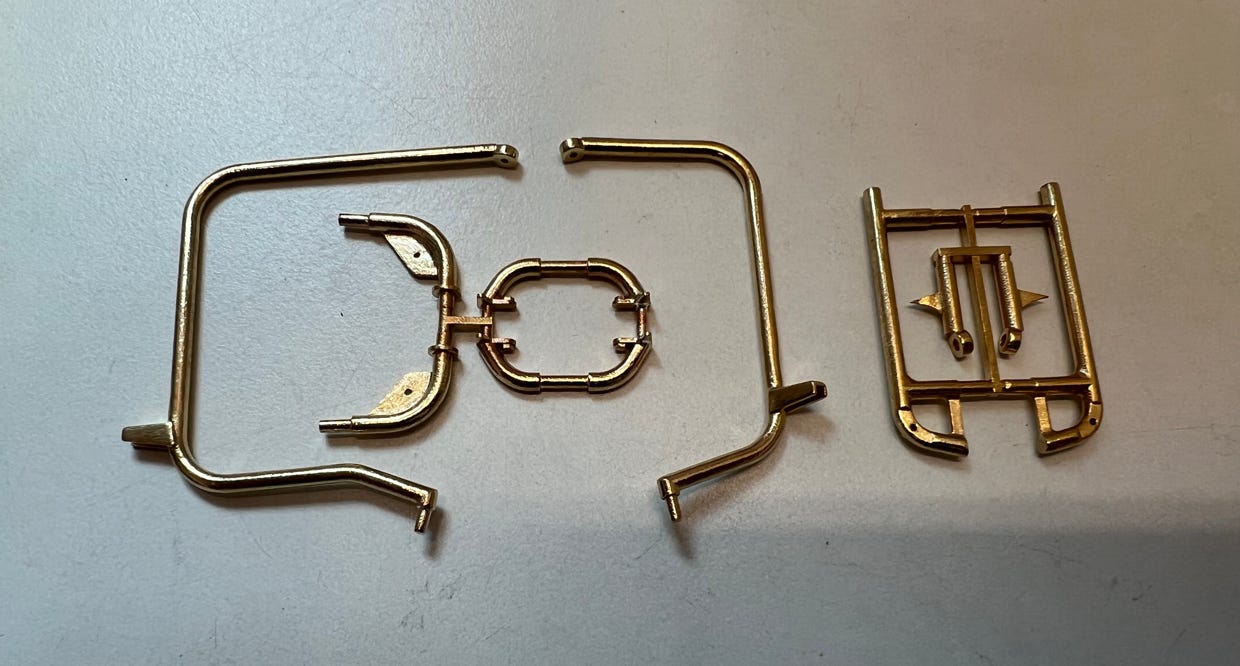
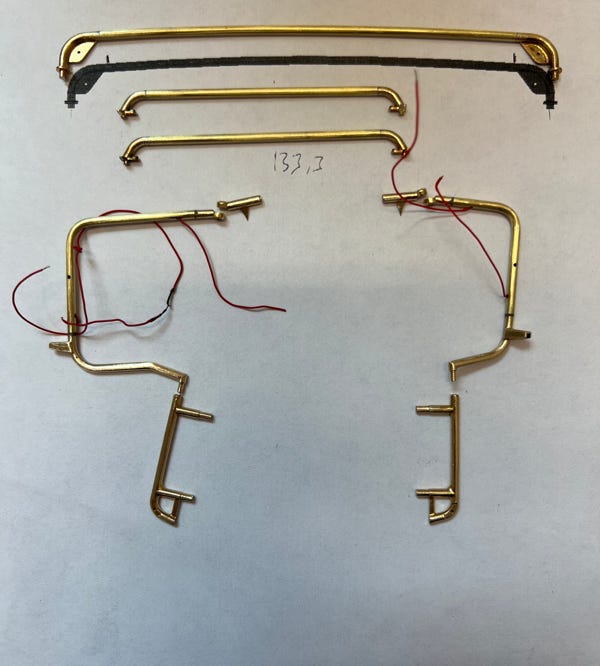
The hand rails and attachments for the mirrors and auxiliary lights are made of 3D brass printed parts, and I soldered brass tubes in my tried and tested way. This means that the wires for the headlights can also be routed on the inside of the mirror holders, true to the original.
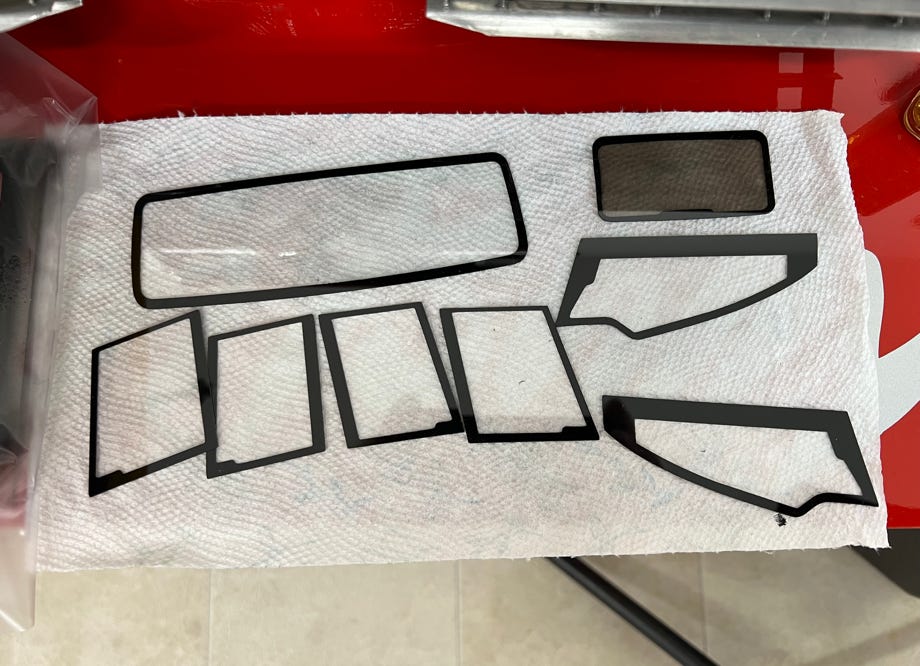
I also cut out masks on the plotter to paint the black edges on the windows:

Then followed the gluing of the finished cab parts, which is always a delicate matter:
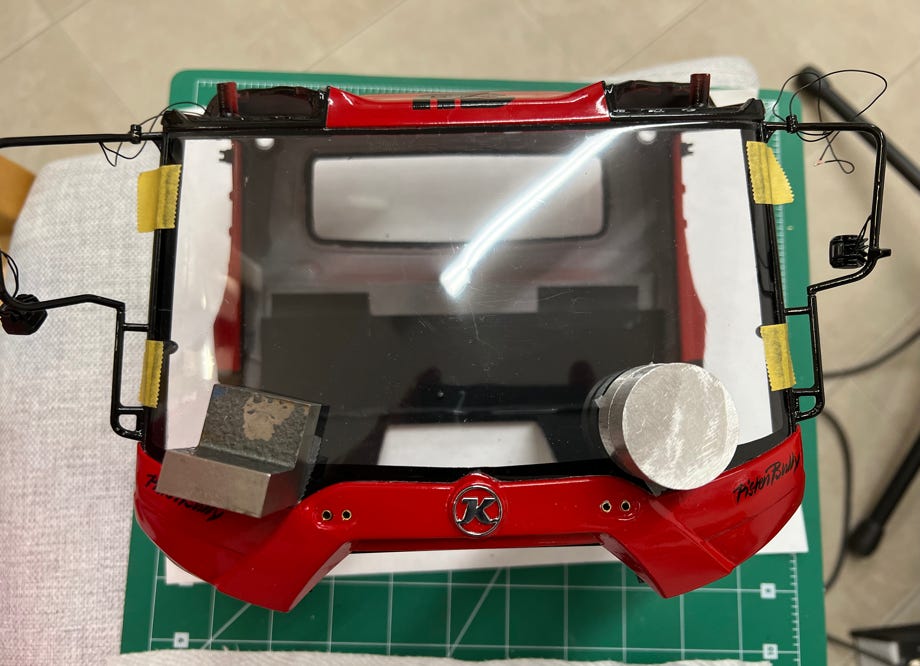
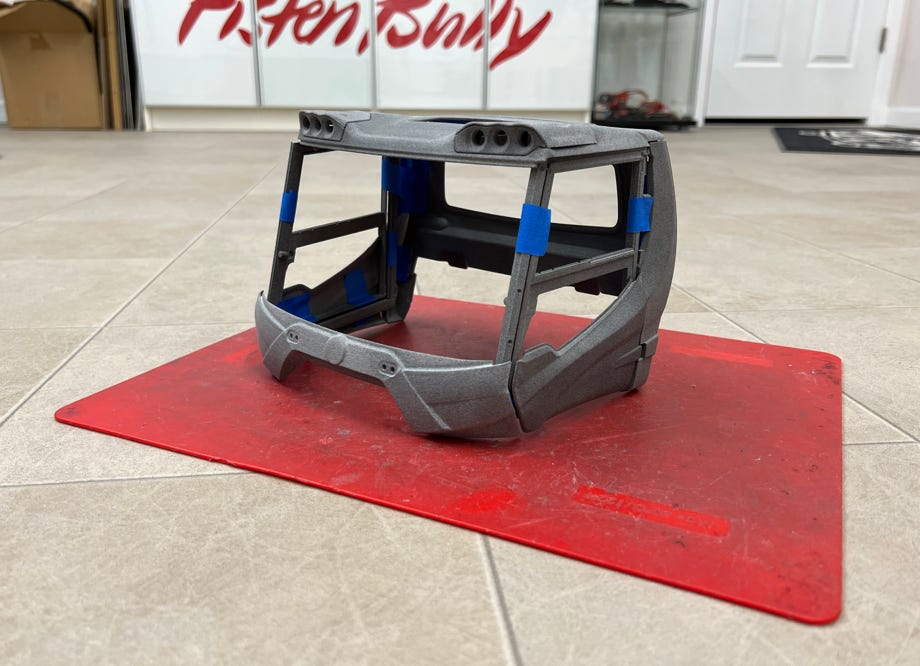
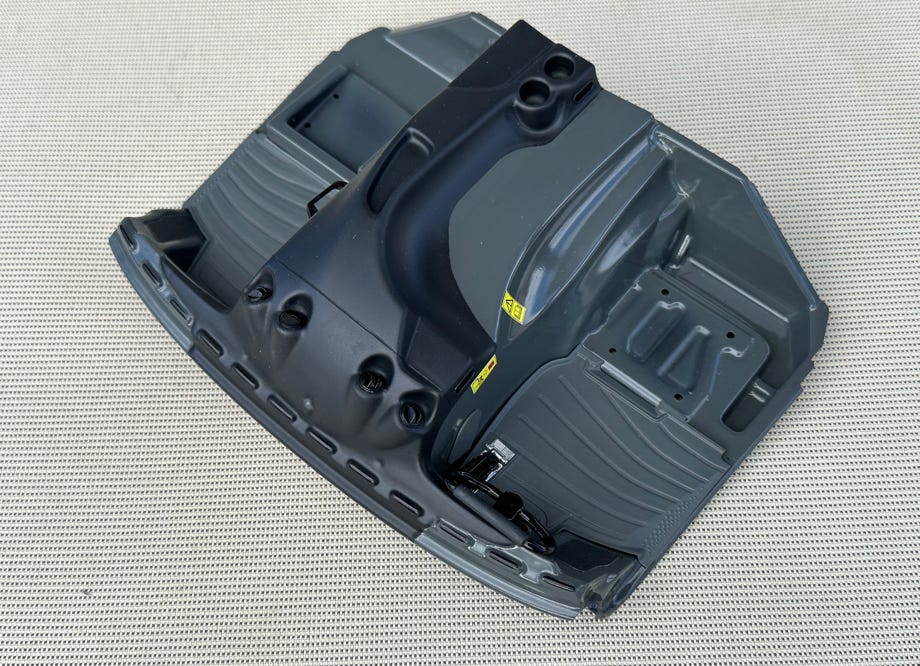
For mounting on the chassis, I made a temporary structure from black plastic plates. While rice corn sheet metal parts for the “backpack” are still in production, these initially existed as dummies made of printed plastic film on cardboard. The first milestone was reached on June 28, 2022, the outside of the driver's cab was mostly completed.
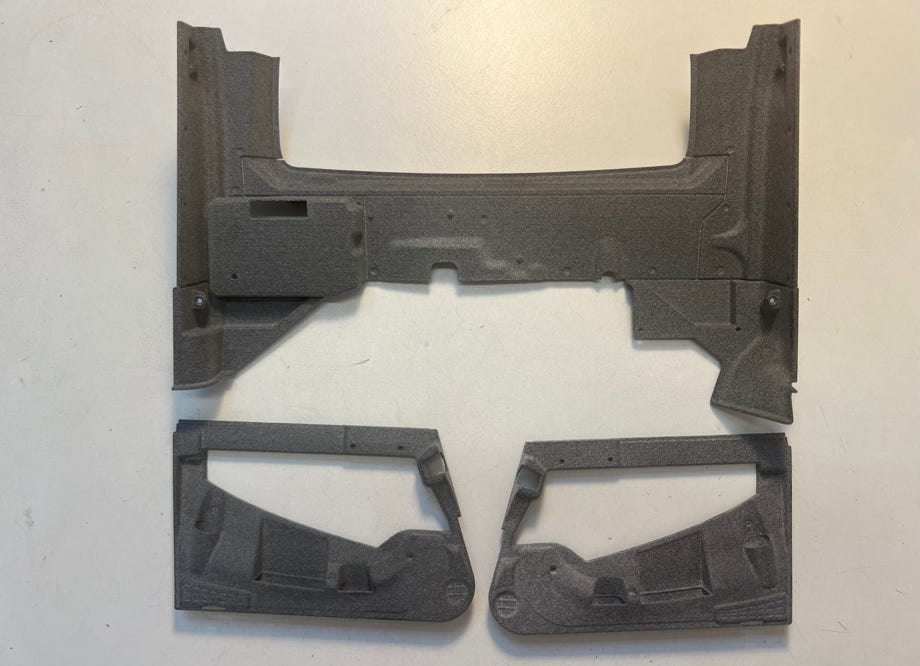
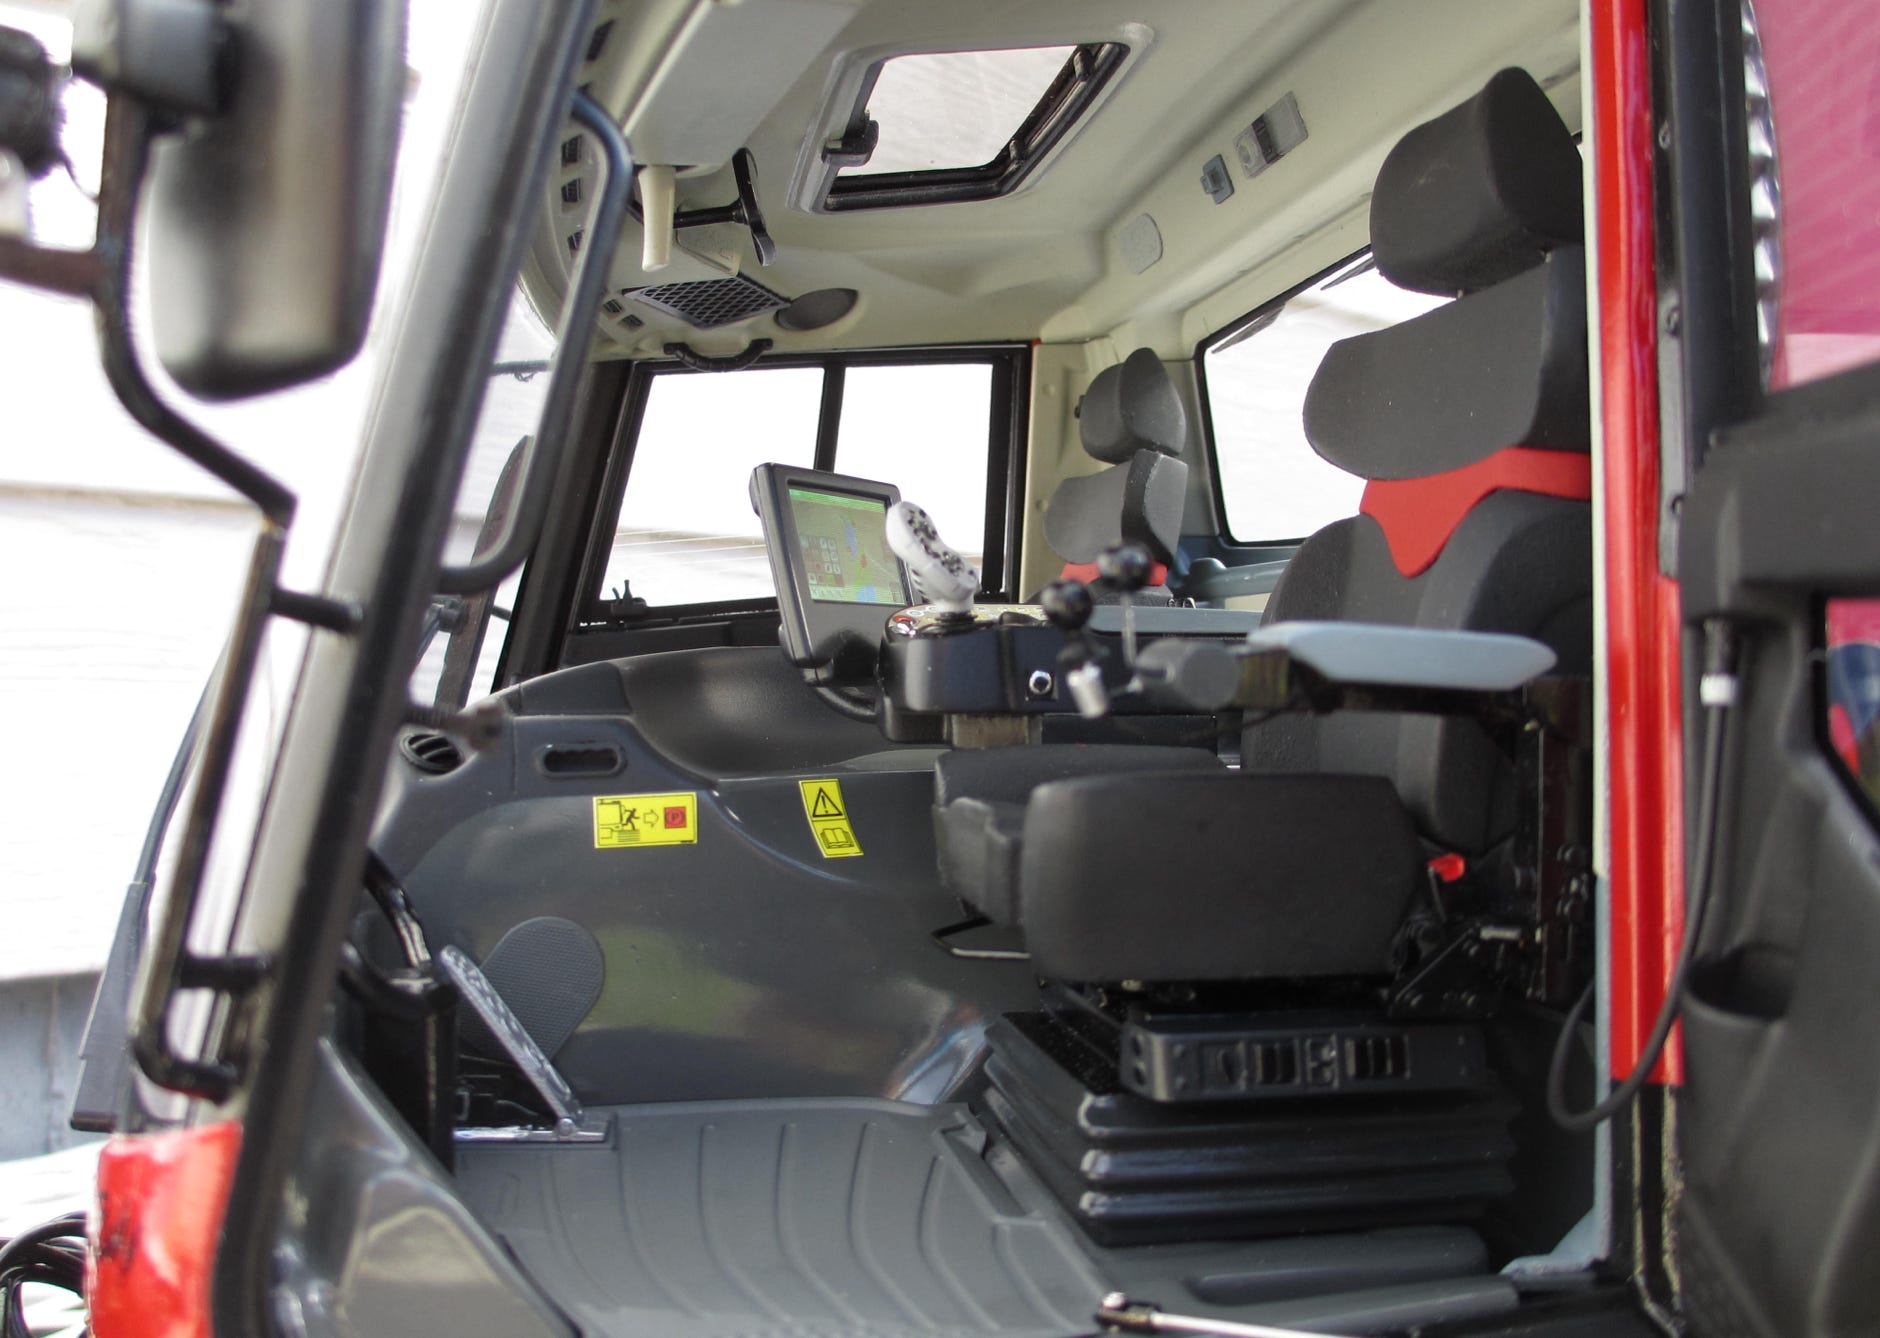
I then started working on the interior, for which we had also received CAD data. The floor assembly and center tunnel are exactly the same as on the current PB600 and could therefore be taken directly from the existing Pistenking kit, as were the seats. The operating console + joystick is the same as with all other PistenBullys due to the identical operating concept, and was also already available. So the work was reduced to the rear wall, roof and door panels.
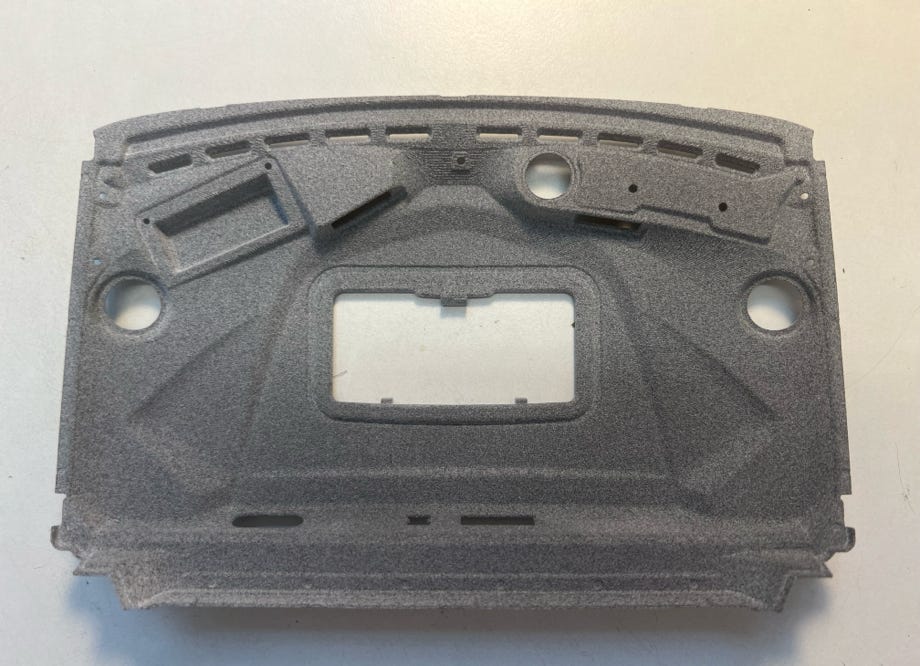
For the floor panel of the driver's cab, I opted for a 3D printed part instead of an aluminum sheet, which is standard on the Pistenking models. Firstly, it was available to me faster that way, and secondly, it looks more faithful to the original. Admittedly, you don't really see the tubs under the seats.

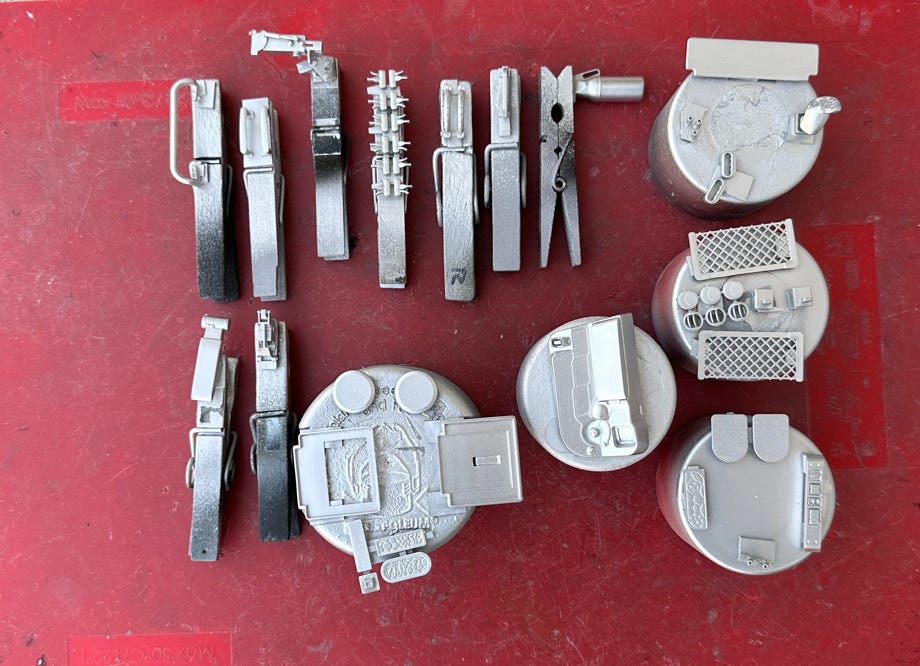
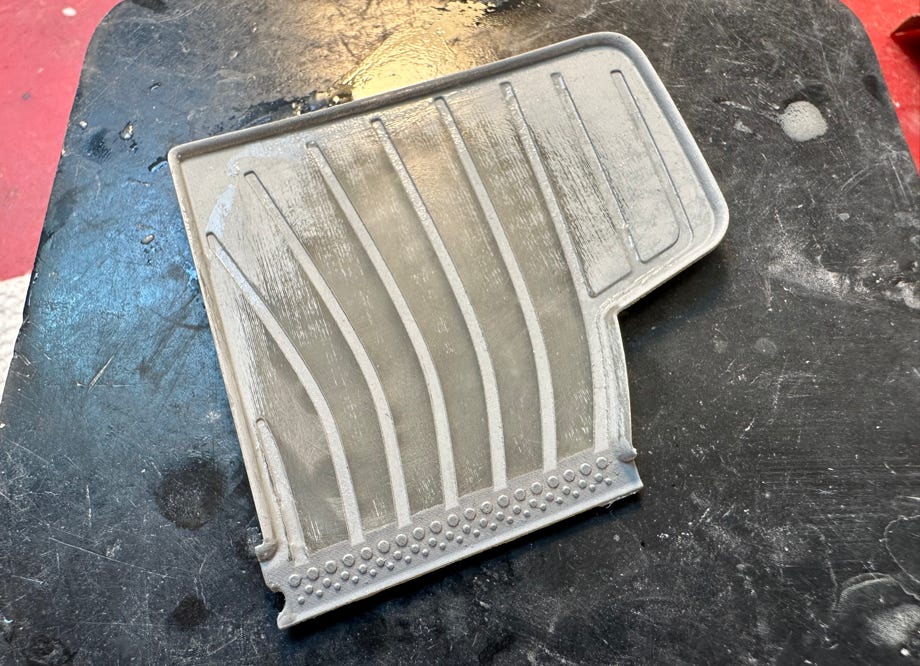
For the interior there were still a lot of details to be made, which I had made using the fine printing process. These must be primed with silver paint, as they are not UV-stable. With the doormat you can also see how the printer lines can be recognized and sanded away after a priming.
At the original, the floor pan is painted in glossy anthracite gray in the lower area, and the cover of the center tunnel is covered with black artificial leather. This was of course also taken into account in the model. I also scraped the dividing line behind the vents at the front, and also used detailed vents that I had from the PB100.
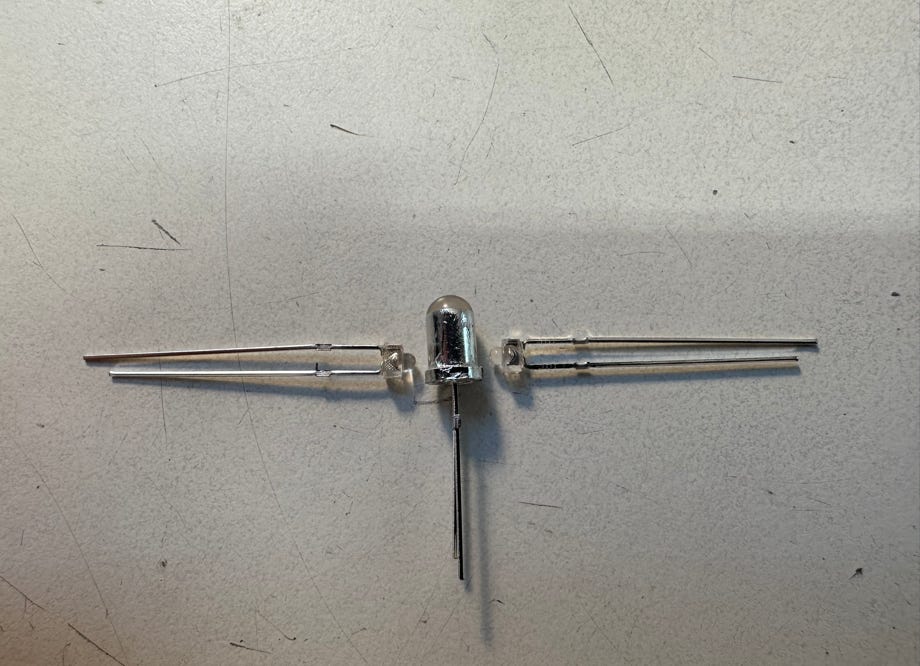
The headlights in the roof would have been easy if PistenBully hadn't used a ring-shaped turn signal indicator. After some thought and tests, I decided to glue two small orange LEDs on the side for this effect and to wrap the 5 mm LED from the headlight with aluminum foil. With this the effect comes out quite well. For the kit, however, Pistenking will offer a circuit board with micro-LEDs arranged in a ring, which saves you this fiddly installation.

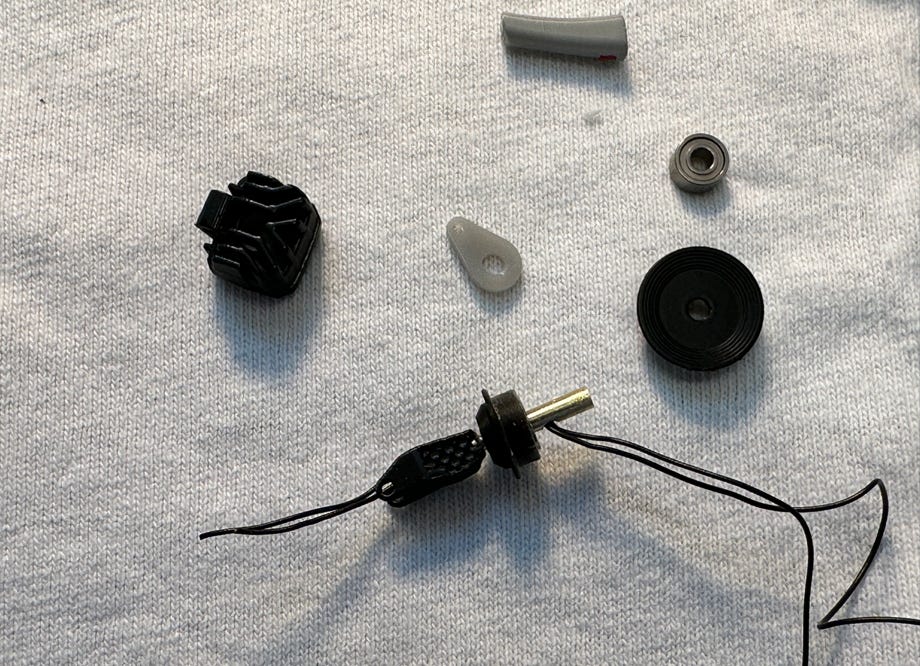
I still had tiny linear servos left and came up with the idea of making the searchlight on the roof turnable. Luckily there was enough space between the roof and headliner. Tiny ball bearings are used, and the thin wires are fed through a tube with an inner diameter of only 1 mm. The installation also proved to be a fiddly test of patience.
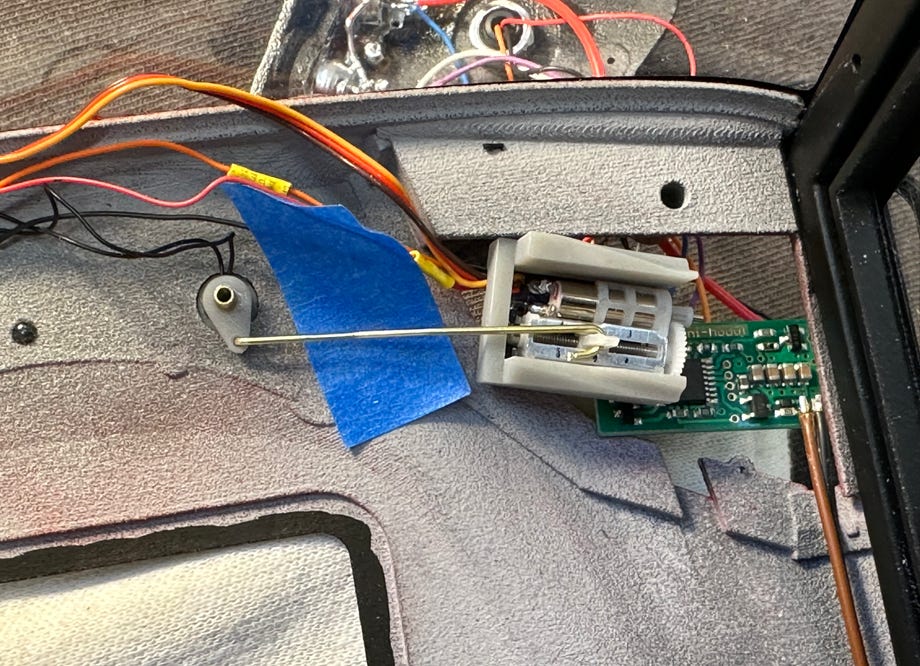
The interior was now also faithfully reproduced down to the smallest detail. A functional OLED screen by Pistenking was installed as a real eye-catcher, which automatically switches between two screen views after the start logo.
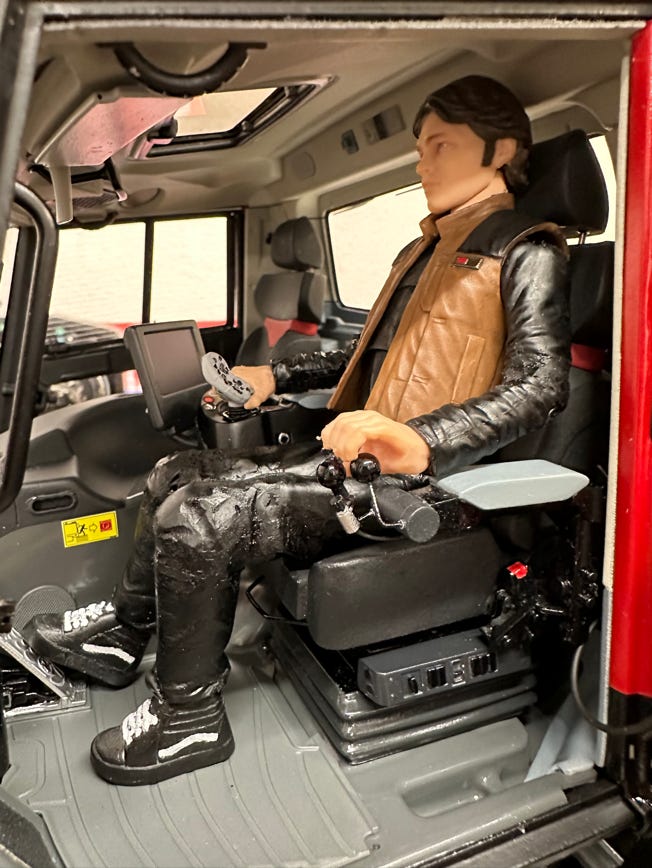
Of course, a PistenBully also needs a driver, in this case none other than Han Solo at a young age, whom I adapted from a Star Wars action figure, as with the PB100, and of course with the obligatory Vans MTE on his feet. More about this here.
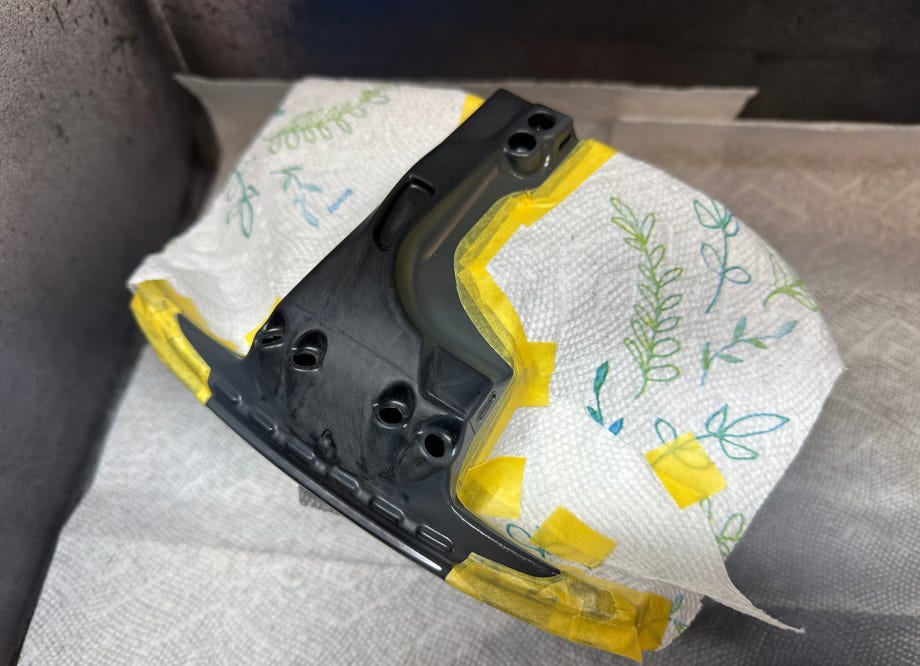
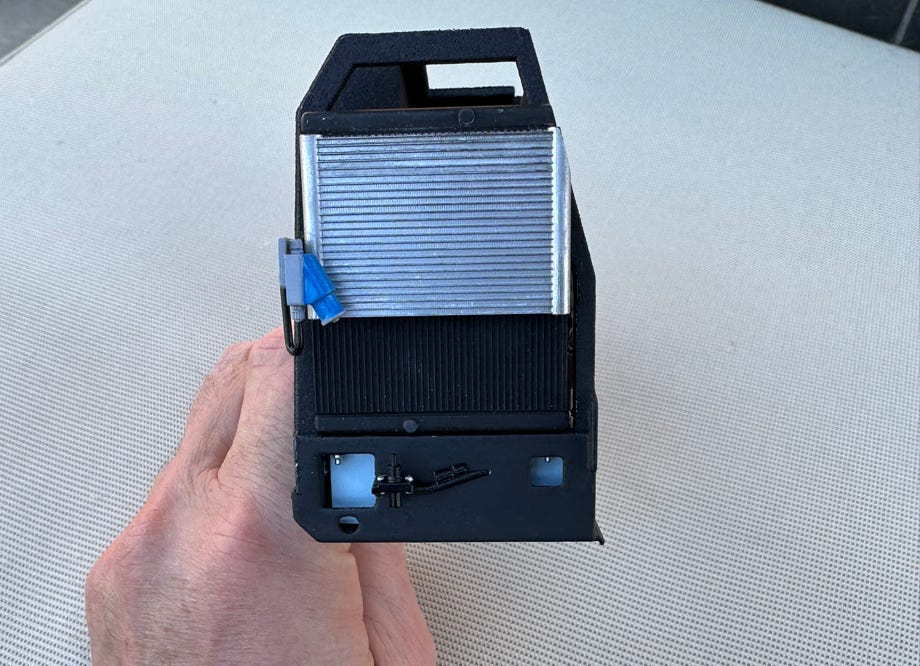
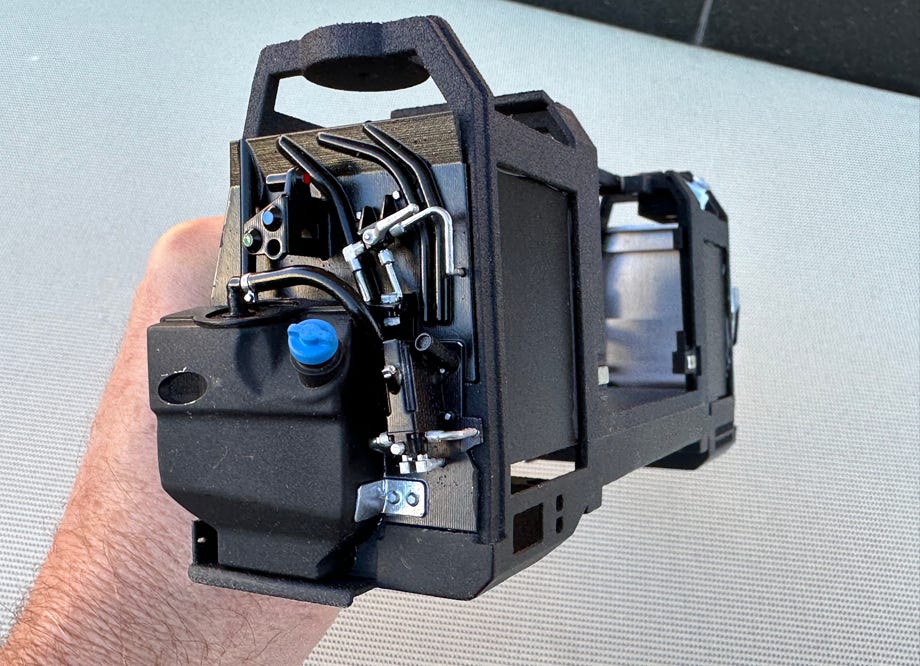
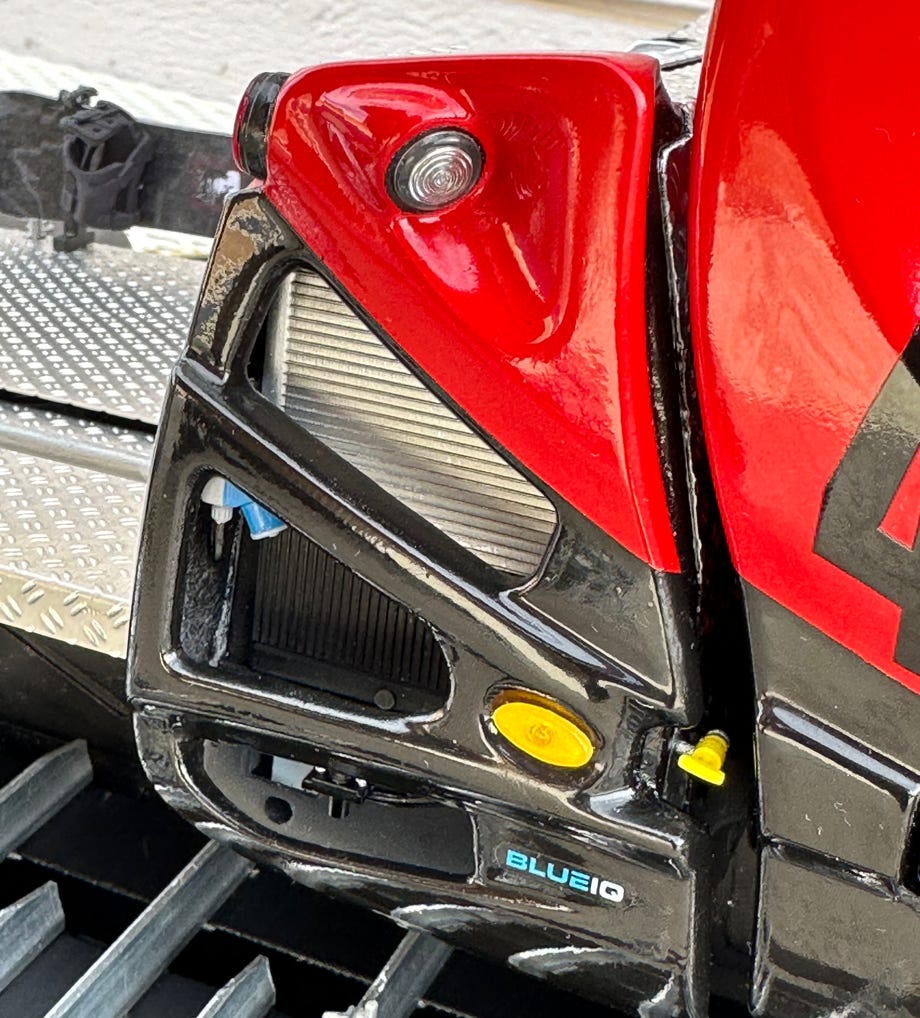
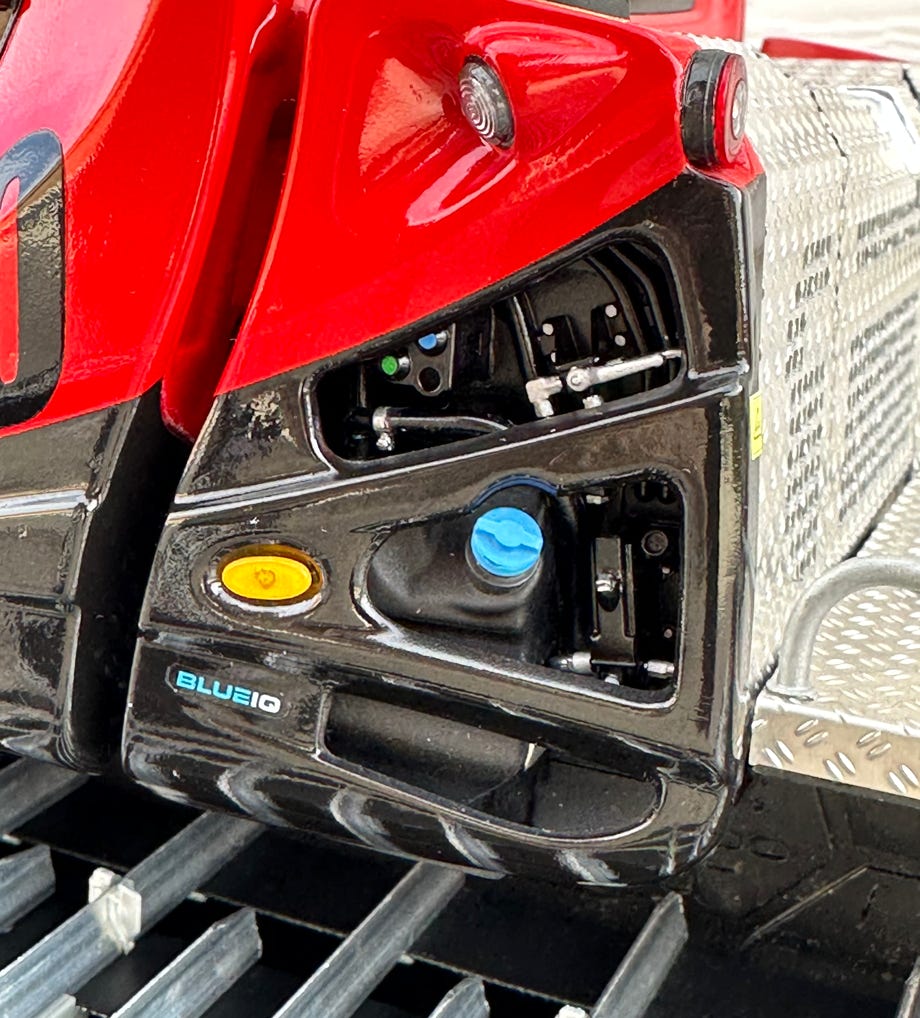
Finally, I made the details behind the air intakes on the backpack, again using CAD data and photos.
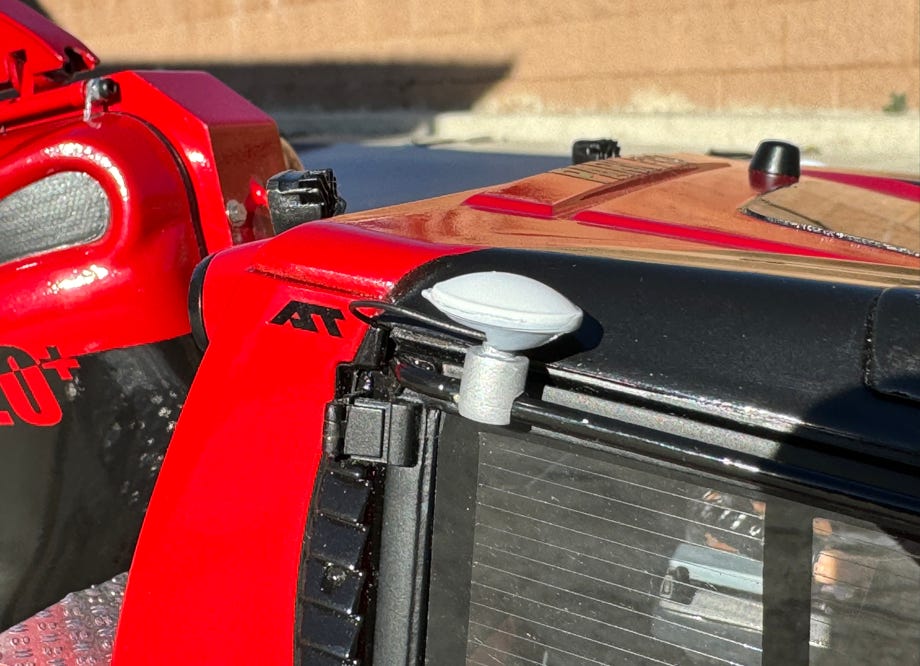
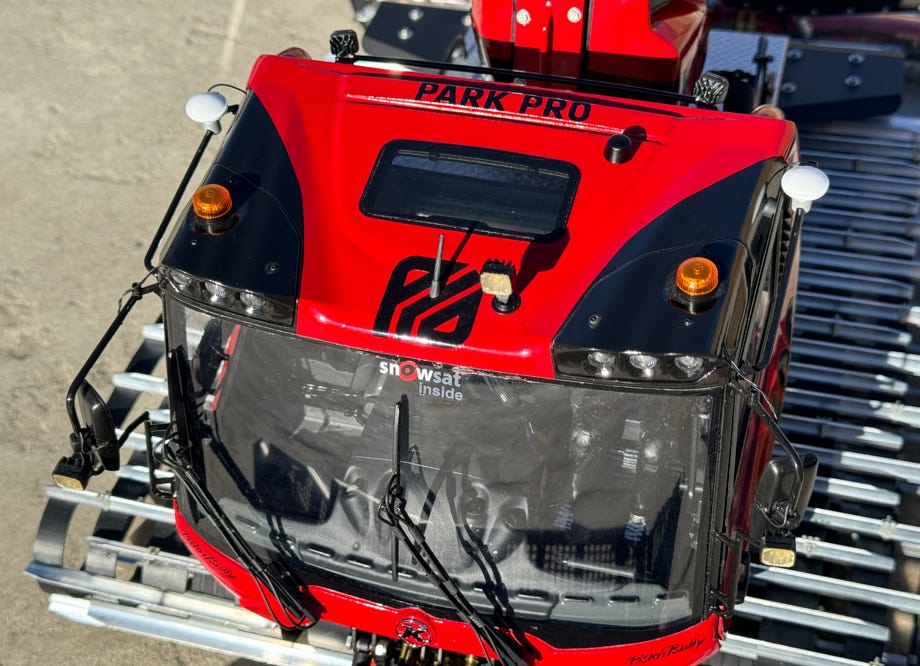
For the 2023/24 winter season I have upgraded the fleet to Snowsat, recognizable by the typical white antennas on the roof and of course the obligatory sticker on the windshield:
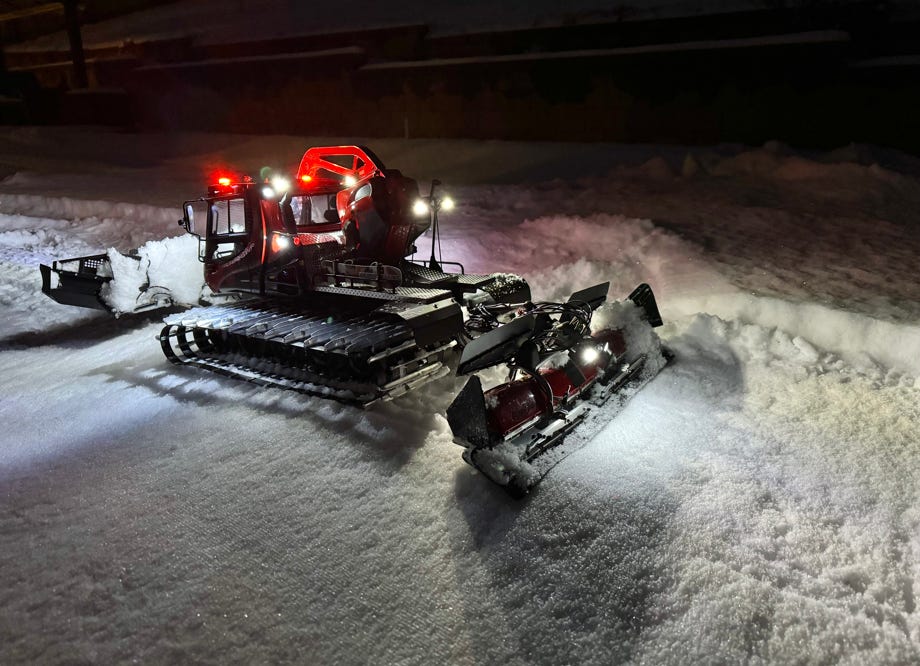
The chassis was taken over unchanged from my PB400 ParkPro 4F Winch, and so the final act of the conversion was to change the winch to the current design. Thankfully, we had also received CAD data from Kaessbohrer for this. So I was able to create the new covers true to the original. The winch arm now had to be repainted from black back to red, and I finally made the lateral hydraulic cylinder for tipping. .
The tiller has black finishers on the original, so those were replaced as well. In the ParkPro version, the upper parts of the overthrow protection are black instead of transparent, these were quickly CNC-made from black plastic plates on my Stepcraft. And the cutting plotter created the black PistenBully logos.
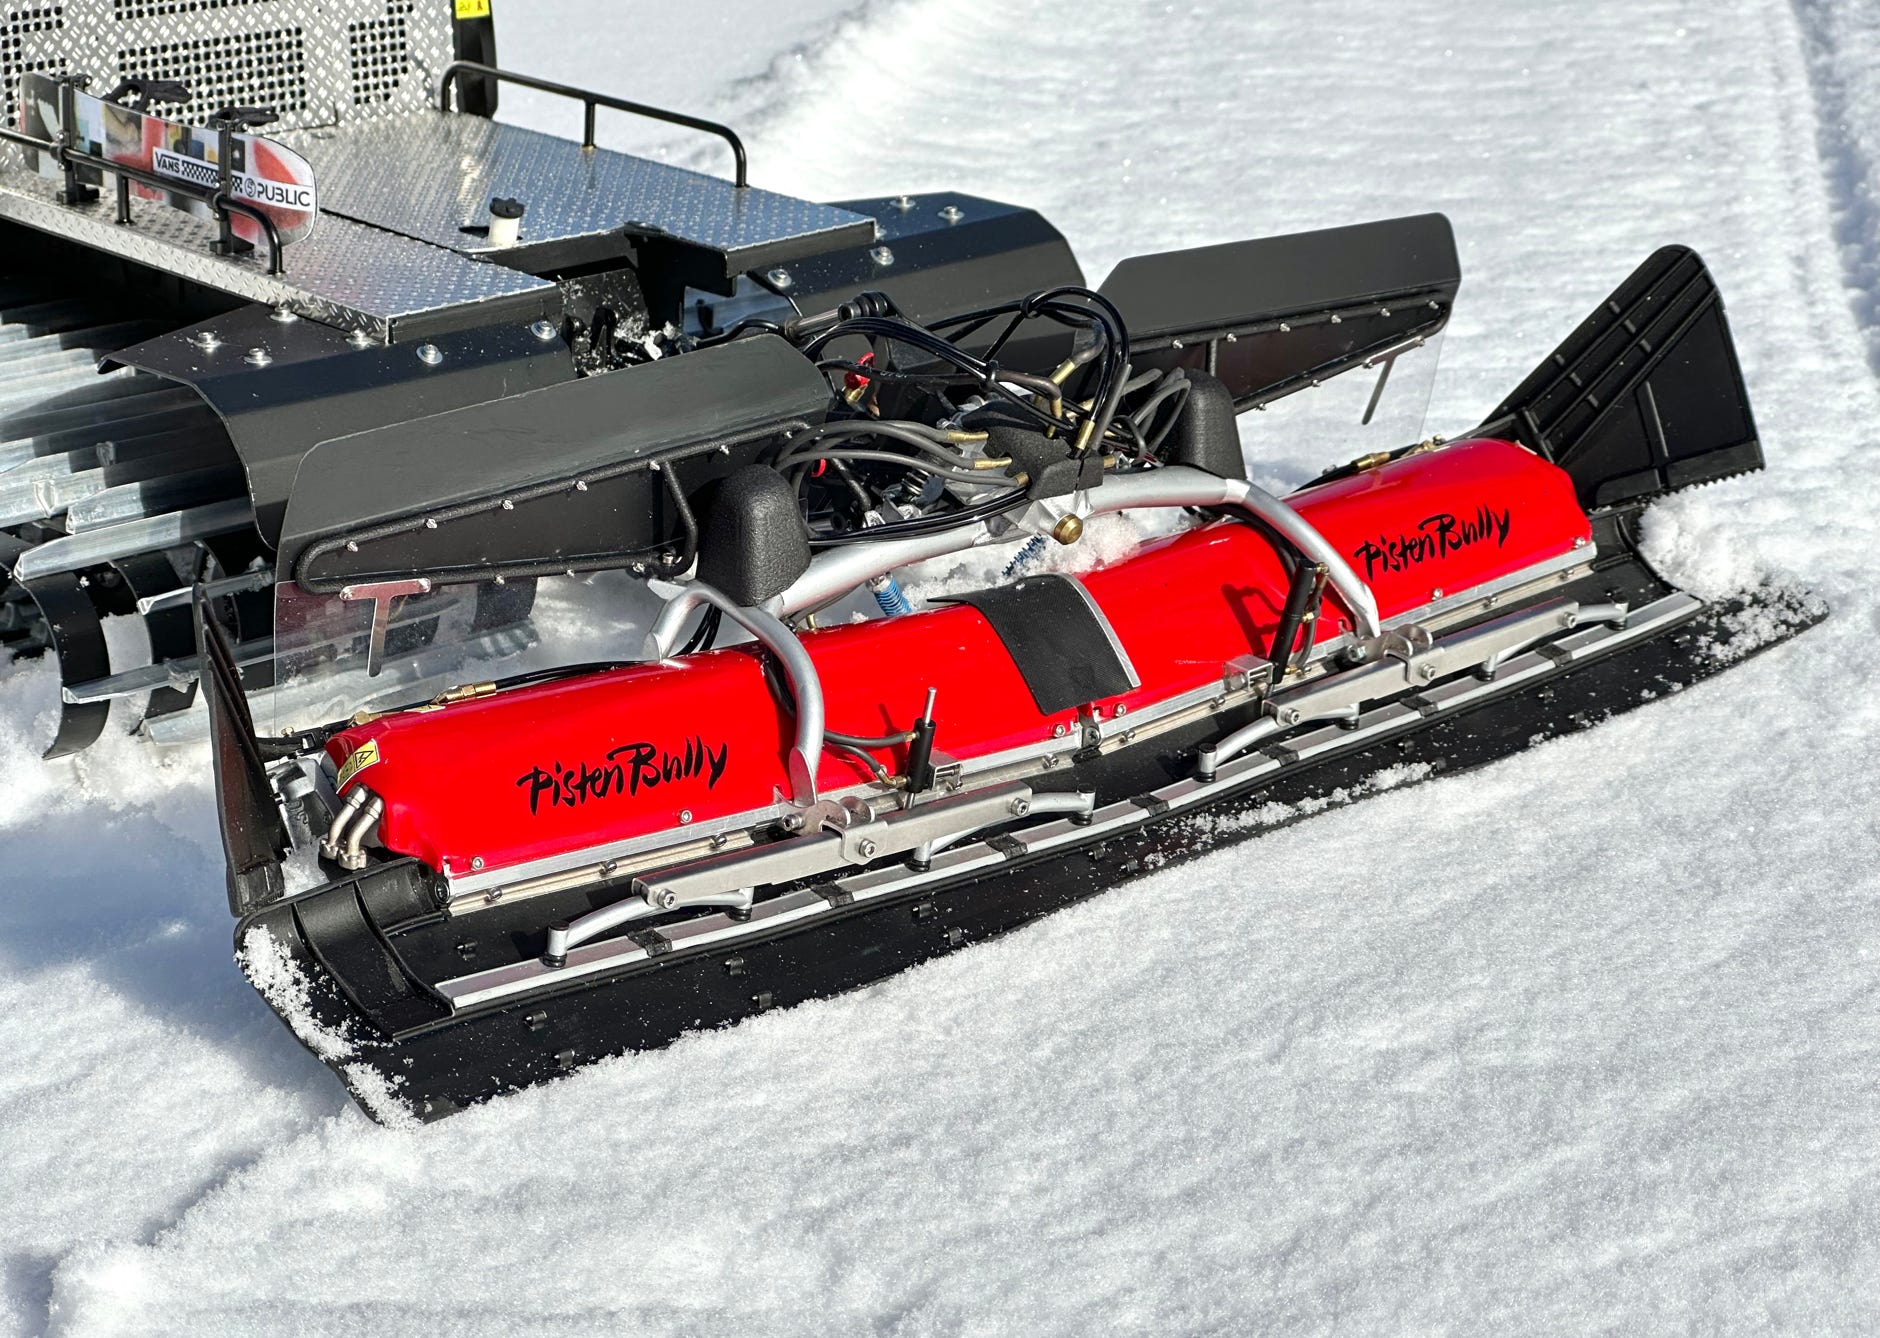
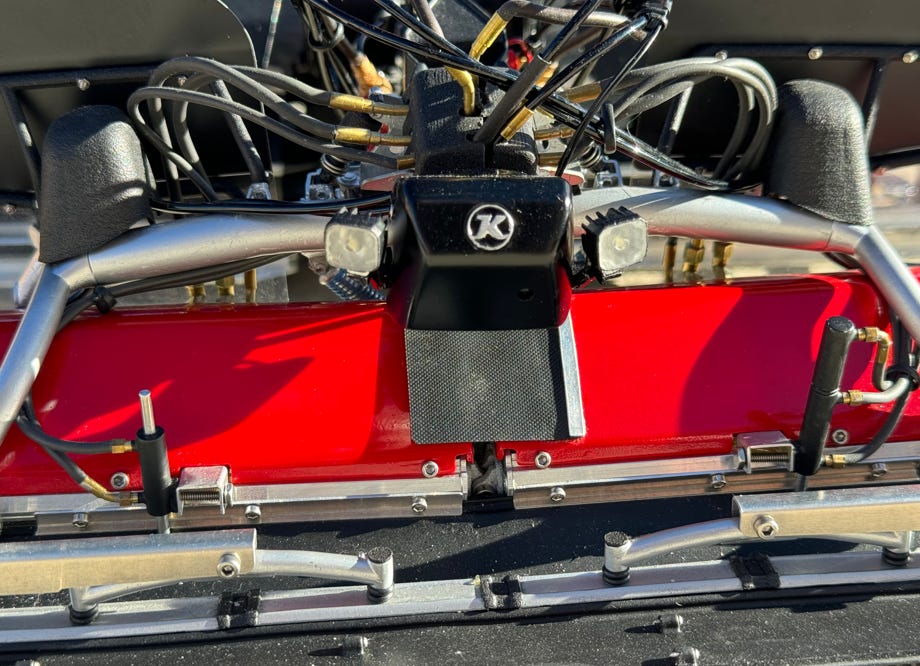
Finally the tiller was equipped with the additional hydraulic distributor with reverse camera and headlights and therefore corresponds to the current status:
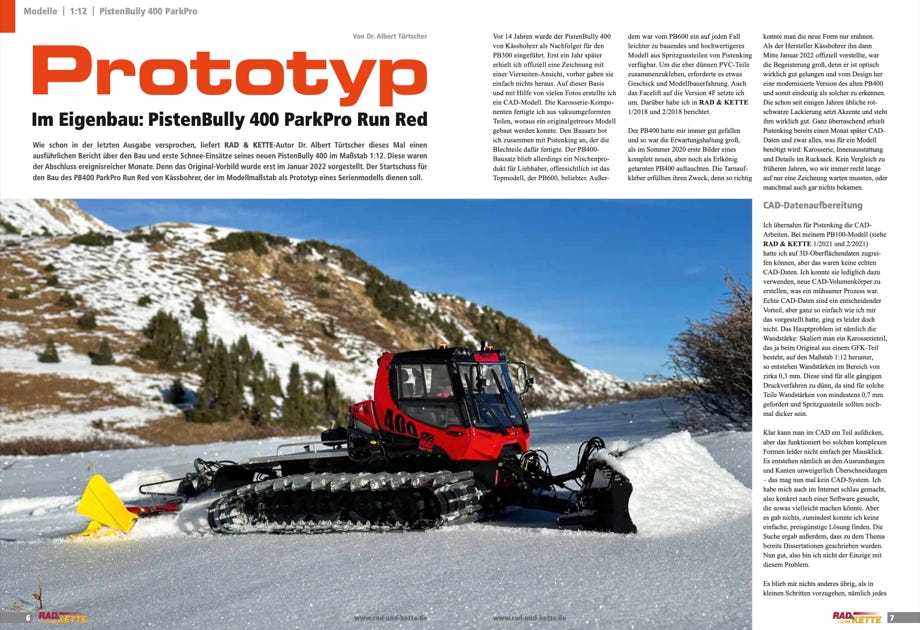
The german magazine Rad & Kette 4/2022 issued an previews, and in 1/2023 is a detailed article by me about building the driver cab for the new PB400 Run Red. They are in German language.
The articles can be downloaded as PDF file, with friendly permission by the magazine. Just click on the picture for downloading.

Diese Seite verwendet Cookies. Sie stimmen der Verwendung von Cookies durch Anklicken von “OK” zu. Nähere Informationen finden Sie in unseren Datenschutzbestimmungen.
This page is using Cookies. You are permitting the use of cookies by clicking on “OK”. More information can be found at our Privacy Protection.